
Your cart is currently empty!
Choosing Between a Suspension Lift, Leveling Kit, and Body Lift: What, When, and Why
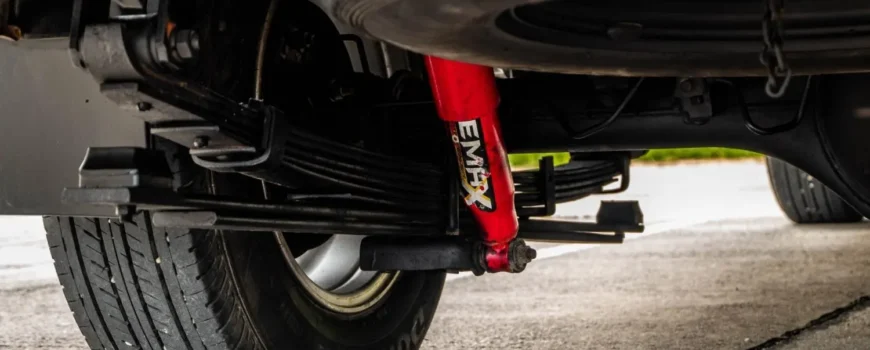
Lifting a truck or SUV alters both its appearance and its capabilities. A suspension lift raises the entire chassis. A leveling kit adjusts the front end to remove the factory rake and give a balanced stance. A body lift separates the body from the frame with spacers. This article breaks down how each system works, when to use it, and which option best suits your vehicle.
What is a Car Lift?
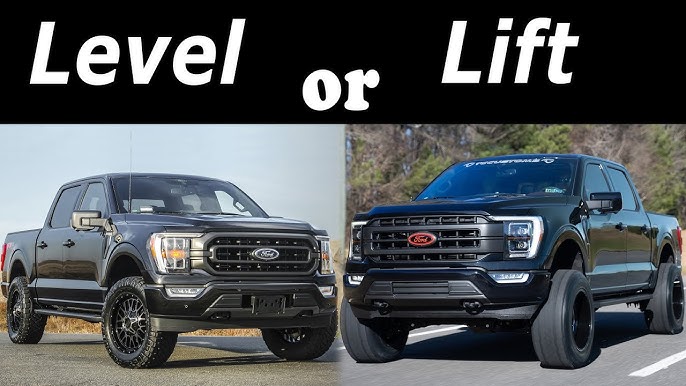
A lift is a modification that raises a car off the ground, typically by adjusting the suspension, body, or front-to-rear stance. It can increase ground clearance, allow for wider tires, and transform the entire appearance of your truck or SUV.
Choosing the appropriate lift is crucial, as each option has a distinct impact on handling, riding comfort, cost, and long-term performance. The ideal option depends on how you intend to utilize your vehicle.
Suspension Lift
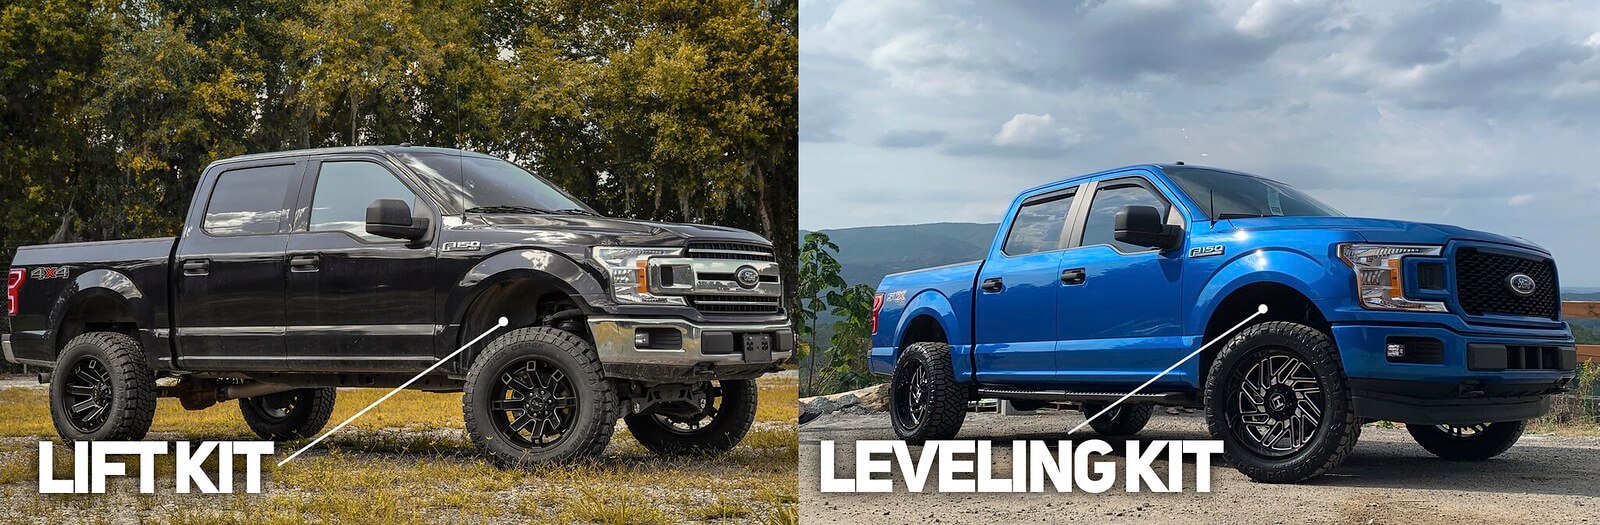
A suspension lift raises the vehicle for enhanced off-road capability:
- Ground clearance. Provides additional height for navigating rocks, dirt, and rough terrain;
- Off-road performance. Enhances traction, stability, and handling on tough trails;
- Tire size. Allow for the installation of larger off-road tires;
- Angles. Improves approach, breakover, and departure angles;
- Cost. More expensive than other lift kinds and often necessitates expert assistance;
- Fuel economy. It can marginally reduce efficiency and alter handling;
- Included components. Springs, shocks, control arms, sway bar links, spacers, and hardware;
- Additional work. Brake line extensions or stabilizers may be needed;
- Vehicle compatibility. Works on body-on-frame vehicles, not on unibody.
This option is great for riders who need serious off-road performance.
Leveling Kit
A leveling kit is a simple improvement that evens out the height difference between the front and the back of a vehicle. It is one of the most cost-effective and convenient variants. It offers:
- Appearance. Removes the factory rake to achieve a more balanced stance;
- Tire space. Allows for slightly larger tires without major adjustments;
- Cost. In comparison to suspension or body lists, this option is less expensive;
- Ride quality. Provides near-stock comfort and handling;
- Installation. Quick and frequently achievable even without professional instruments;
- Included components. Usually spacers, torsion bar keys, and small hardware;
- Additional work. Rarely needed; brake lines or stabilizers are almost never required;
- Vehicle compatibility. Works mainly on body-on-frame vehicles; unibody is less common but not excluded.
This kit is perfect for drivers wanting a clean look with minimum effort.
Body Lift
A body lift raises the vehicle from the frame to increase height, primarily for appearance:
- Height. Provides 1-3 inches of elevation while maintaining ride quality;
- Tires. Provides clearance for slightly larger tires;
- Cost. Cheaper than suspension lifts, with fewer parts needed;
- Installation. Easier and faster, but still requires assistance;
- Performance. Does not increase ground clearance underneath the frame;
- Included components. Body spacers or blocks with mounting hardware;
- Additional work. May involve bumper relocation or brackets; usually minor;
- Vehicle compatibility. Fits body-on-frame and some unibody vehicles.
This option suits drivers focused on appearance and budget.
Direct Comparison of the Lifts
Choosing the correct lift relies on how important height, performance, and cost are to you. Check the table below to make your decision:
| Feature | Suspension lift | Leveling kit | Body lift |
| Height gain | 4-12 inches | 1-3 inches (front) | 1-3 inches |
| Tire size capacity | Up to 40 inches | Up to 33 inches | Up to 33 inches |
| Ground clearance | Major improvement | Minimal | No frame increase |
| Cost range (USD) | 2,000-10,000 | 100-500 | 300-1,500 |
| Install complexity | High, professional | Low, DIY possible | Medium, basic tools |
| Ride impact | May alter handling | Keeps stock feel | Keeps stock feel |
Suspension lifts add height and serious performance. Leveling kits are the cheapest way to balance stance. Body lifts change appearance at a lower cost.
Final Thoughts: Key Points to Consider
When deciding between different vehicle lift types, consider your budget, driving style, and goals. A suspension lift delivers the most capability off-road. A leveling kit offers a quick way to balance the stance with minimal changes. A body lift mainly adds style and height without changing the vehicle’s suspension.